


How to Use a Design Template?
Creating a custom product with our pre-made templates is quick and easy. Follow these five simple steps to build your design.
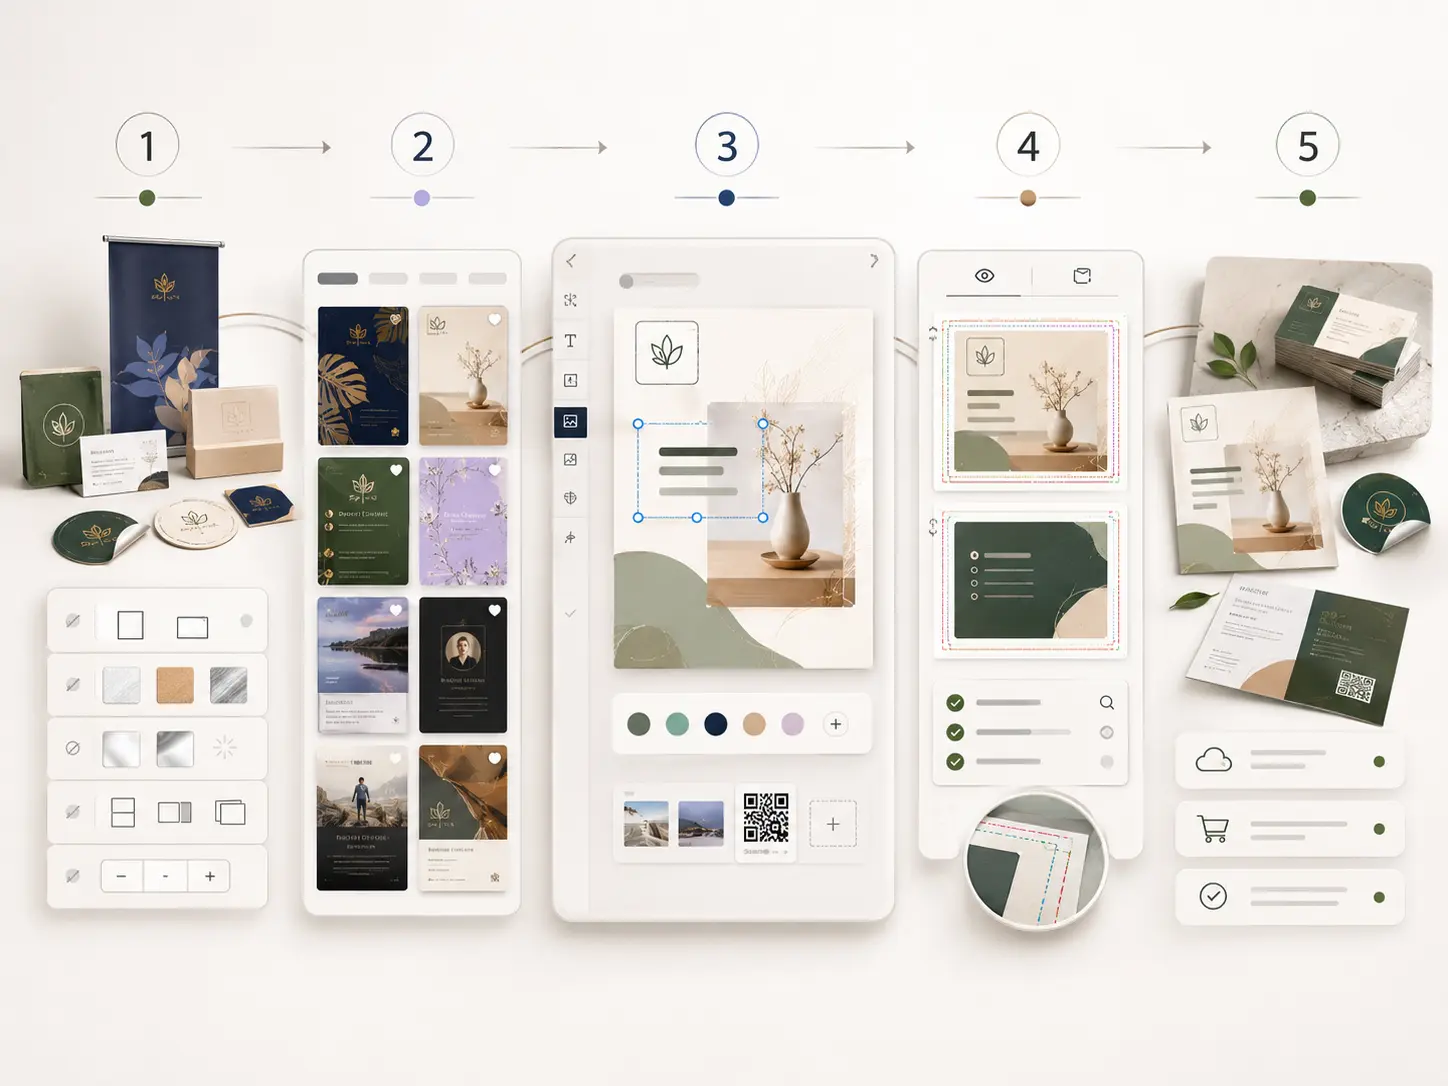
Step 1: Select Your Product & Specs
Choose the product you want to customize (e.g., business cards, banners, or stickers). Before picking a template, ensure you have selected your preferred product options on the product page, including:
- Size & Orientation
- Material & Finish
- Printing Sides (Single vs. Double-sided)
- Quantity
Selecting your product specs first ensures the template grid matches your exact order, preventing layout distortion later.
Step 2: Browse and Choose a Template
Explore our library and select a design that fits your brand identity or industry. Don't worry about finding a 100% perfect match—every template is fully customizable to fit your style.
Step 3: Personalize in the Online Designer
Click your chosen template to launch our Online Designer. Click on any editable element to start customizing:
- Text & Details: Swap out placeholder copy with your business info, slogans, and QR codes.
- Visuals: Upload your high-resolution logo, graphics, or brand imagery.
- Styling: Adjust fonts, colors, and backgrounds to match your brand book.
Step 4: Run a Final Review
Before adding the item to your cart, use the Preview tool to run a quick quality check:
- Legibility: Proofread all text for typos, and ensure fonts are clear and readable.
- Print Safety: Verify that all essential text and logos sit safely inside the Safe Area, and backgrounds extend to the Bleed Line.
- Completeness: If you ordered double-sided printing, make sure to review both the front and back layouts.
Step 5: Save or Place Your Order
- Ready to buy? Click Add to Cart and proceed to our secure checkout.
- Need more time? Log into your account and hit Save Design to finish editing whenever you're ready.